What is it?
Illustrator is similar to Inventor (see Inventor page) in some aspects. It enables its users to design their products, and Inventor files can also be used in Illustrator. However the similarities are very limited. Due to it being apart of the same Adobe Suit with Photoshop and InDesign, Illustrator shares more qualities and has a similar purpose with those softwares as opposed to Inventor. Illustrator is a vector design software (two dimensional) used primarily to create or edit artwork on laser and vinyl cutters. What is very interesting about this software that varies from traditional concepts is its vector system. Instead of using pixels like regular pictures use, Illustrator creates VECTOR art which can be scaled up or down with no distortion. Unlike its counterpart pixels which will upon scaling appear more box-like the more zoomed in.
How I Lasered a Key-Chain.
|
Step One
|
The first step was to open Illustrator. The software is represented by the icon depicted to the right. Once opened, I went to file and 'new', to which a window popped up. I went to the 'print' tab and changed 'points' to 'inches' as well as plugged in the dimensions for the art board. Right before pressing 'create', I went to advanced options and made it 'RGB color'.
|
|
Step Two
|
|
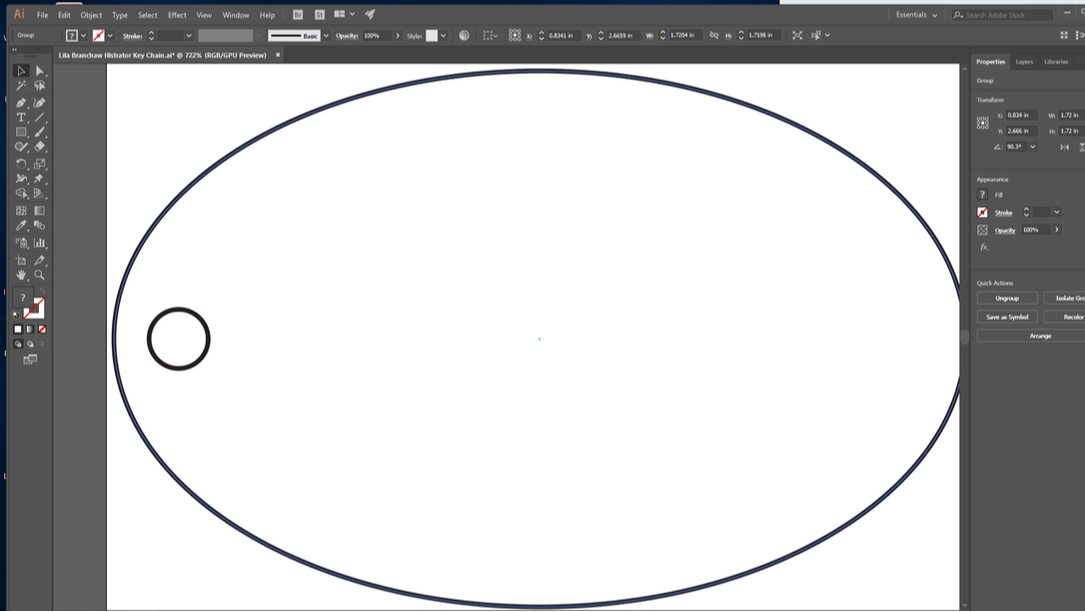
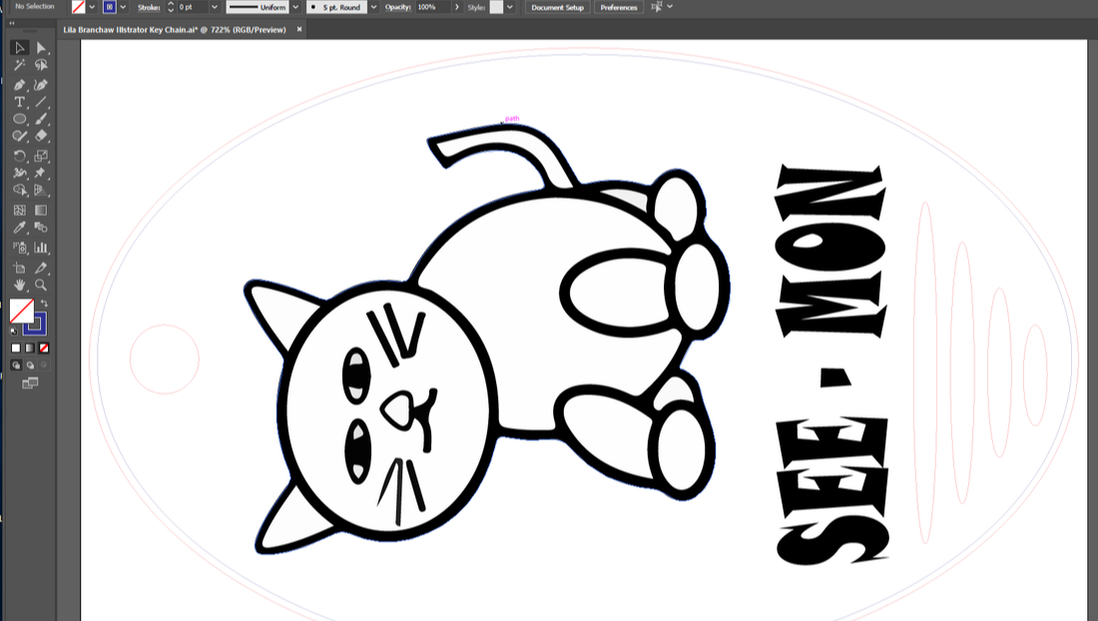
Once the art board was created, I made the outline for the key chain. I used the shapes tool located in the left-hand-side tool bar to make an ellipses with estimated dimensions, and then used the same tool to make the smaller hole. For the smaller hole I made the diameter measure 1.75".
|
|
Step Three
|
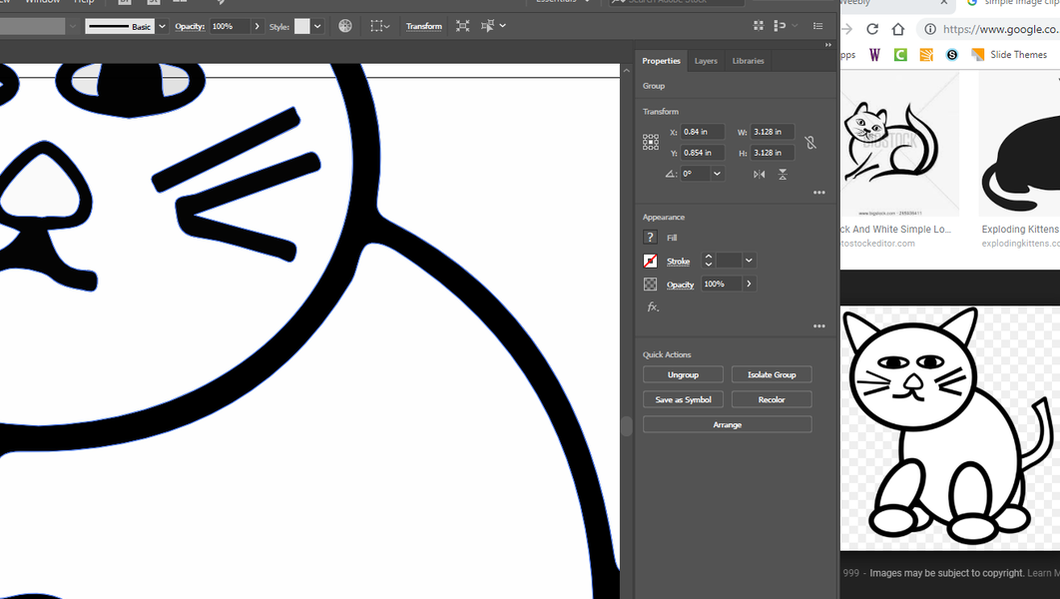
However I did not want a blank key chain. In order to spice it up, I imported a black and white clip art image from the internet to Illustrator. I traced the image and chose 'sketched art' as the style. After I pressed expanded, I scaled and placed it to my preference.
|
|
|
Step Four
|
|
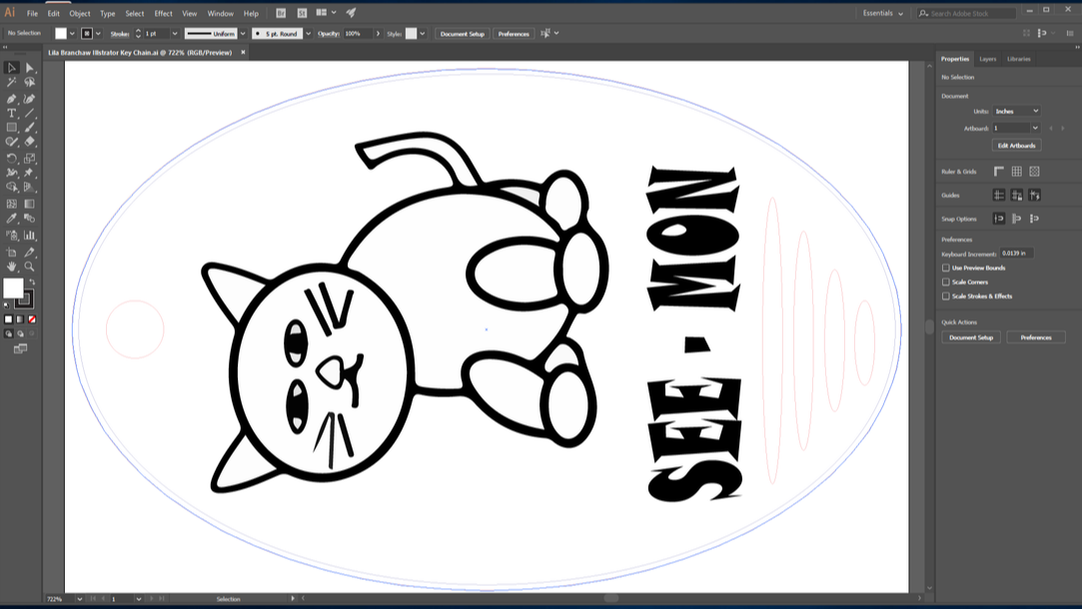
Once done, I edited the outline for the key chain. I made the lines 0.0001 pt. I also made them red so that the laser would know to cut there instead of engrave. To make it appear clearer, I also went up to the 'view' tool bar and selected 'view on CPU'.
|
|
Step Five
|
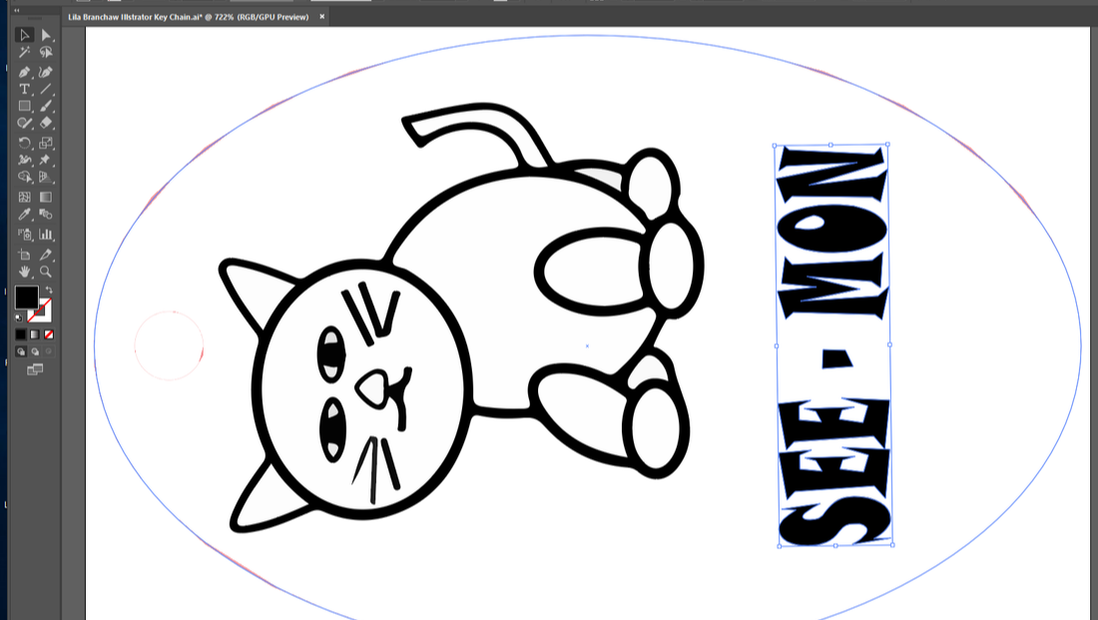
I then added text. I used the text tool on the left hand side tool bar. I clicked on the key chain to place my text and typed in the desired words. Finally, I changed the font to my preference and rotated as well as scaled the text. I was almost done!
|
|
|
Step Six
|
|
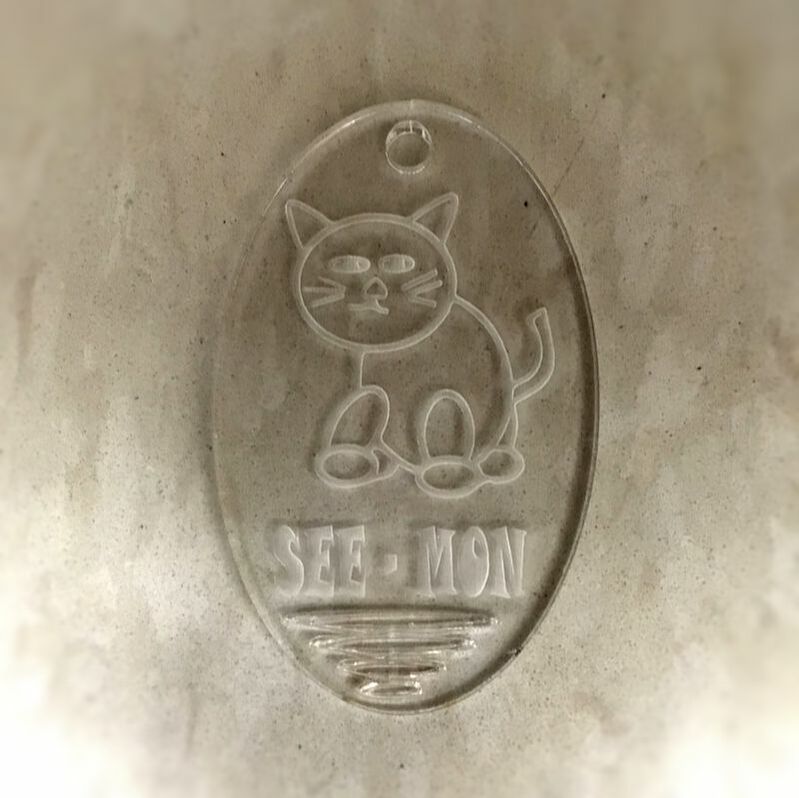
To add more flourish, I added an additional design. At the bottom of the key chain I inserted four holes (used the red line previous described to tell the laser to cut) purely for fun. The holes very close together, and since this was my first time using a laser I did not anticipate the plastic melting and deforming the holes in the final product.
|
|
Step Seven
|
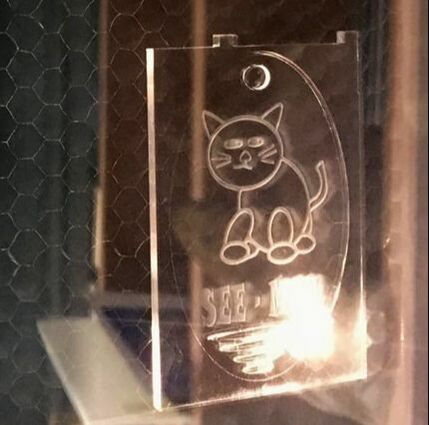
Finally, I had to physically go to the laser and follow the many steps to ensure the proper function of the laser. First, I had to open the correct Illustrator file from my flash drive, and then make it so it went into the Laser software. After that I had to correctly position the Laser and the piece of plastic that the Laser would make into the key chain. Finally, I pressed the large green play button. Once that was complete, I merely sat back(the entire laser engraving process took about five minutes to complete) and took pictures.
|
|
The Final Product
How I applied a vinyl decal.
|
Step One
|
|
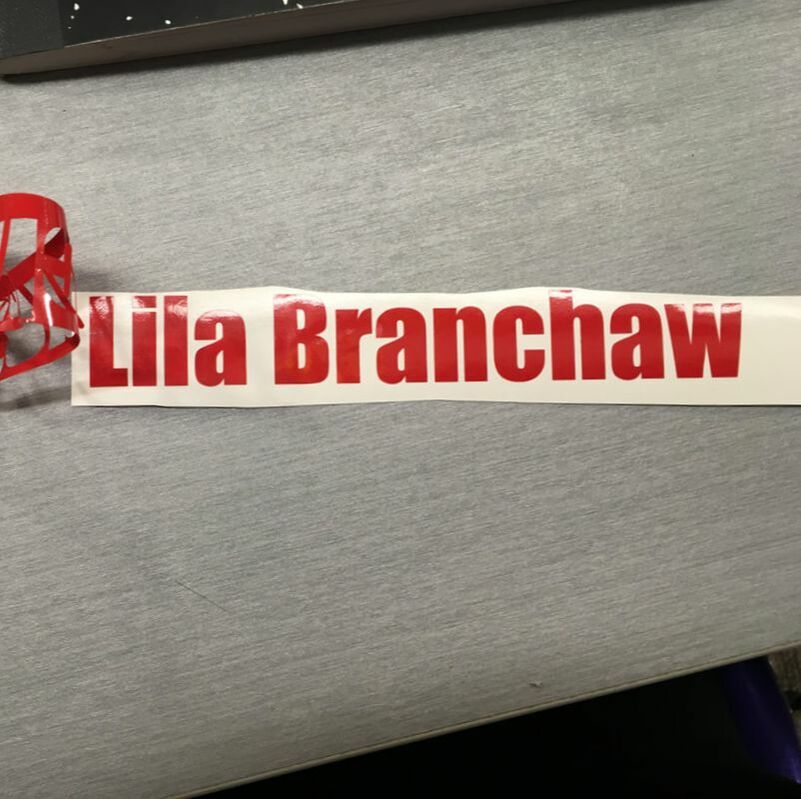
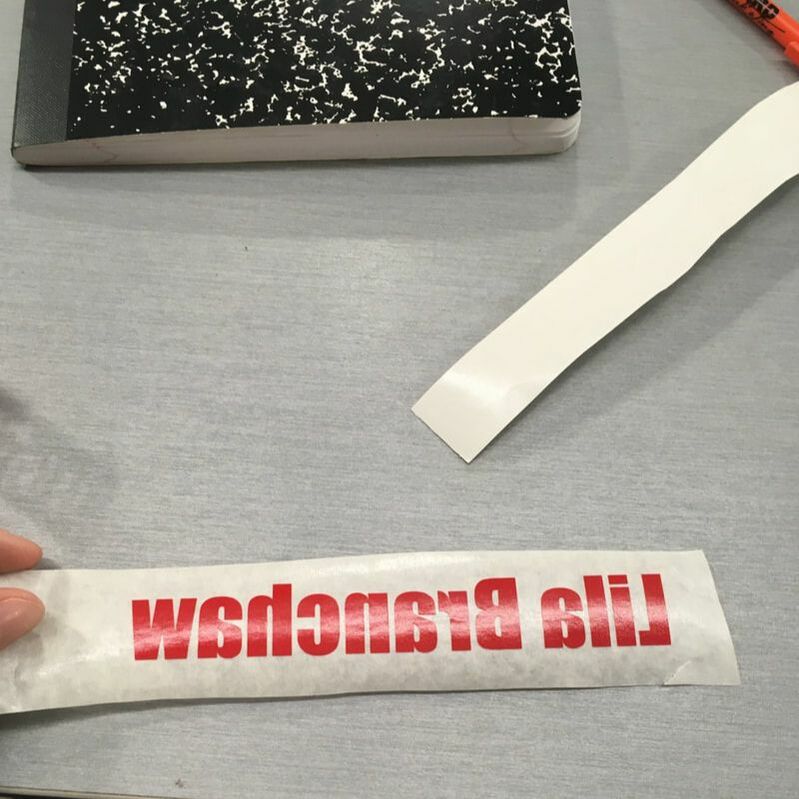
After the vinyl decal was created in inventor and printed, Ms. Proctor cut mine away from my fellow classmate's. I then peeled away the excess plastic that was not my name. It was a challenge to get the vinyl that was inside the 'a" and 'B', but for that there was a dental tool available that made it quite easy.
|
|
Step Two
|
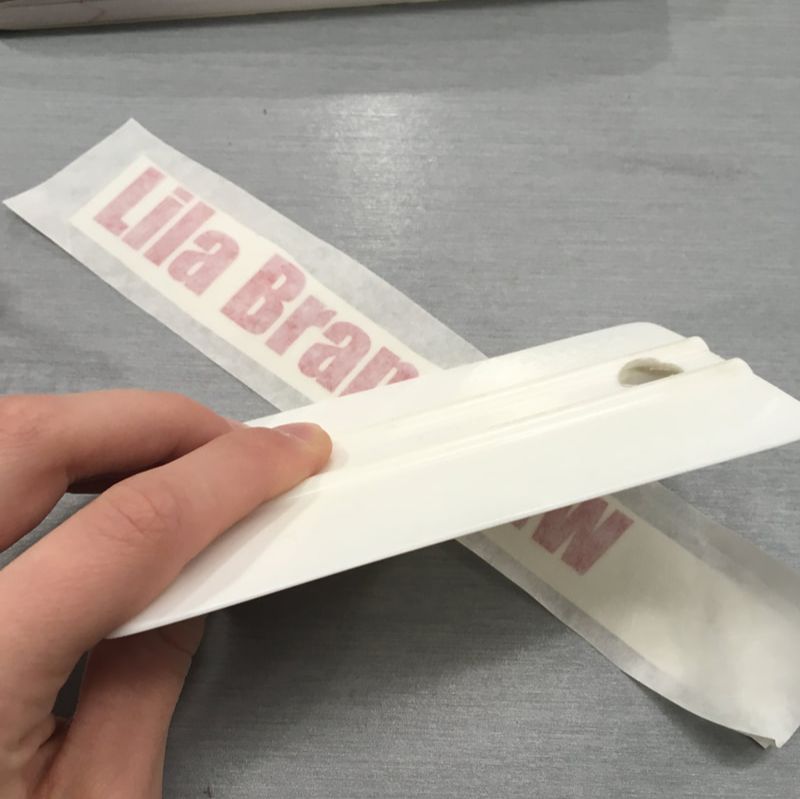
I then placed special paper, as shown to the right, over the decal. To make the decal stick better to the paper, I used the tool, also shown to the right, to press down upon it. However, I was careful to not press exceedingly hard because then the decal could've bent.
|
|
|
Step Three
|
|
This step showed whether or not I had done the previously step well enough. I peeled the decal - at an angle to make it go smoother - off the original paper and onto the special one. I had to go back and do the previous step multiple times because some of the letter's, particularly the dot on the 'i', would continually stay sticking to the original paper instead of transferring.
|
|
Step Four
|
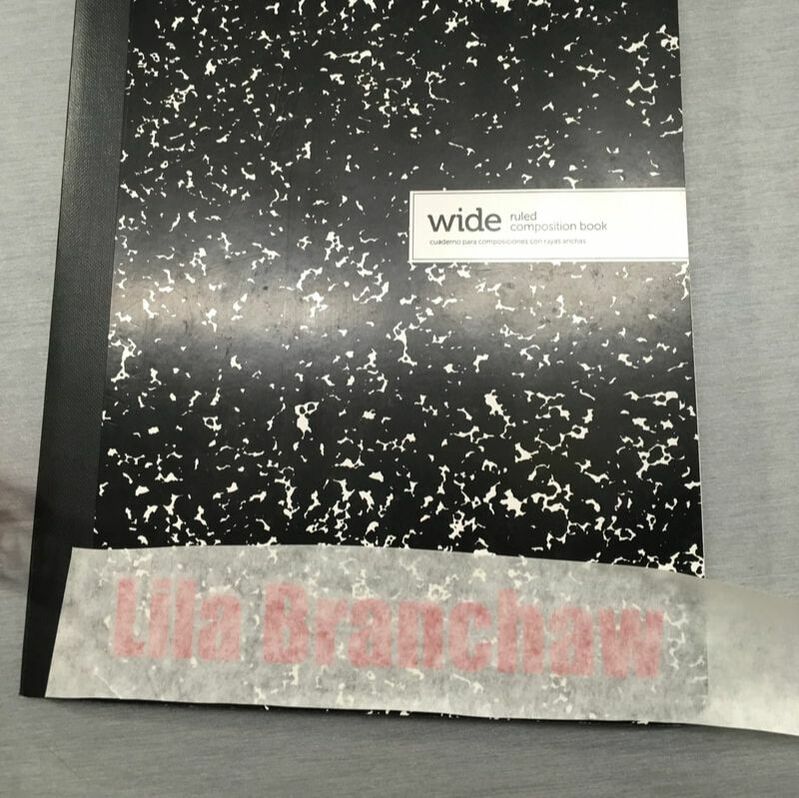
The final step was to relocate the decal unto my designer notebook. This step was the easiest of the four. The only challenge here was making sure the decal was centered on my notebook the first time because once it is down, it will not come back up.
|
|
The Final Product

What I learned.
I learned many concepts and procedures in this unit. The basic two being how to use the laser in a small scale project, and also how to apply a vinyl decal. Both were very fun to do, especially the key chain since I designed it for my sister; it was very fun trying to figure out what pattern she would enjoy the most. However, I was slightly sad as I never got to actually use the vinyl cutter, but rather only learn how to use the vinyl cutter's product - an endeavor that was rather easy. Illustrator is a very fun, although complicated, software that I was very glad I got to learn about. The basic tools and procedures (Ex. creating an art board, previewing on CPU, shape tool, etc.) were hard to learn at first, but after having to teach someone else (my computer lab neighbor and good friend) how to do them, they turned out to be very easy to remember and follow. I also learned the proper terminology. For example, the stickers that the vinyl cutter produces are not referred to as 'stickers' but rather 'decals', something I had previous not known. Overall, this unit was filled with new and interesting concepts that I cannot wait to apply to my individual projects that I will be working on in the future. If you want to see those, check out my other pages!
