What is it?
Inventor is a three dimensional software used primary by industry - but also by everyday people like you and I - to make 3D objects. It is a great tool to make prototypes with or to test designs. It has various tools for its users which enables them to put form to their wildest ideas. For example, engineers use it to show other's their plans for an innovation, but it is not limited to that! In fact, a couple made self designed jewelry with Inventor. The possibilities are endless. As a beginner on the software, I, however, did not go to my imagination's extent. Instead, I started by modeling, and then 3D printing, a simple widget. The steps I took, as well as some of the challenges I encountered, are written below in an easy to follow format. I hope you, dear reader, decide to look into using Inventor after seeing some of its many capabilities below for it really can help make your dreams a reality.
How I Made a Widget
|
Step One
|
|
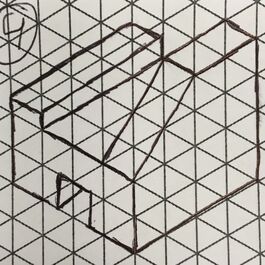
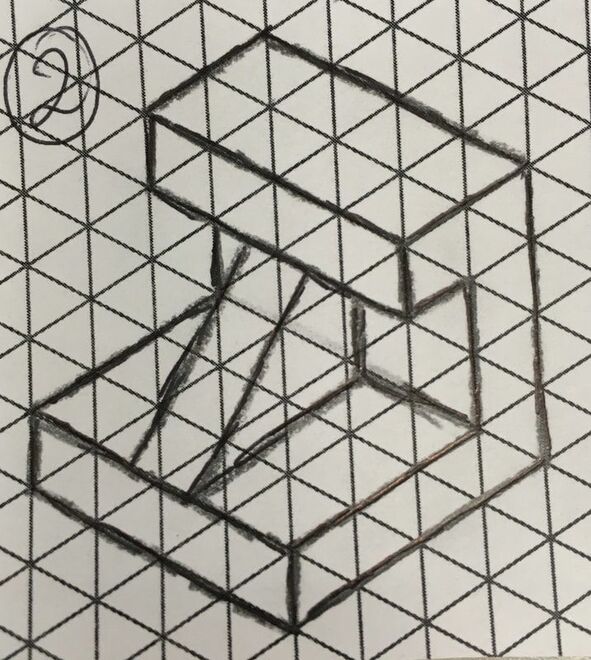
I drew the widget. This helped me gain a better understanding of the object that I was about to model. I drew mine on isometric paper from a picture provided by my instructor. A challenge here was not making a mistake as I had to draw in pen.
|
|
Step Two
|
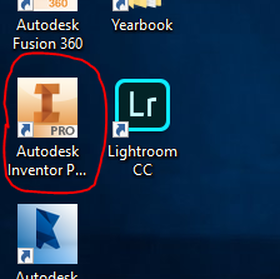
I created the widget in Inventor. It took some time to locate the software as my computer was new to me, but in the end I resolved to do a search for it in the bottom left search-bar. I found out later, much to my convenience, that the software was located on the home screen also, as shown to the left.
|
|
|
Step Three
|
|
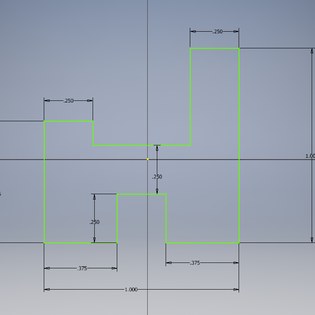
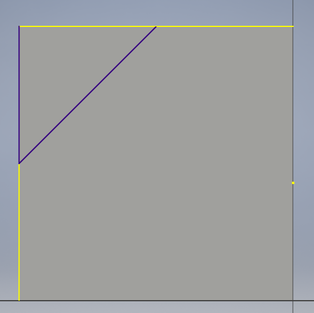
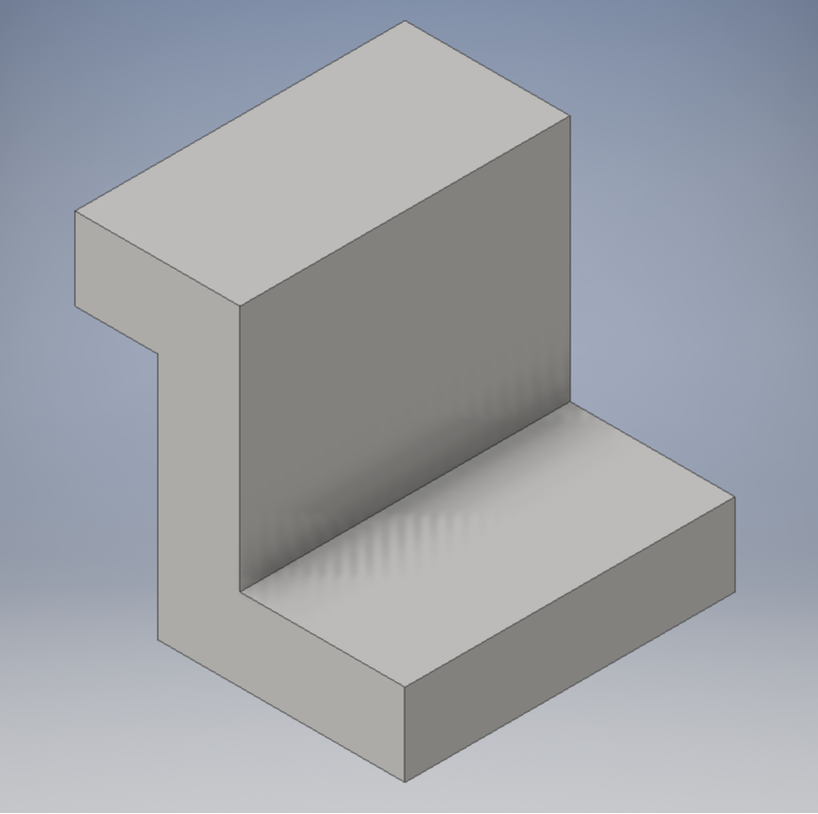
I made the starting sketch. To do so, I selected the Start 2D Sketch button on Inventor and went to the x-y plane. I then made a rough outline for the front face of my widget. Only after doing the outline did I dimension the widget properly, as shown to the left. It was challenging to pick what front face I should use, but I solved this by picking the face that had the most features on it.
|
|
Step Four
|
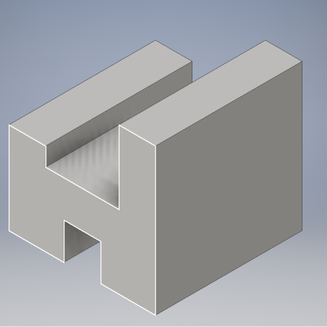
I extruded the the sketch. This was a struggle for some of my classmates as they always forgot to click finish sketch before they tried to extrude their widget. However, I did not confront this problem personally, so this step was relatively easy.
|
|
|
Step Five
|
|
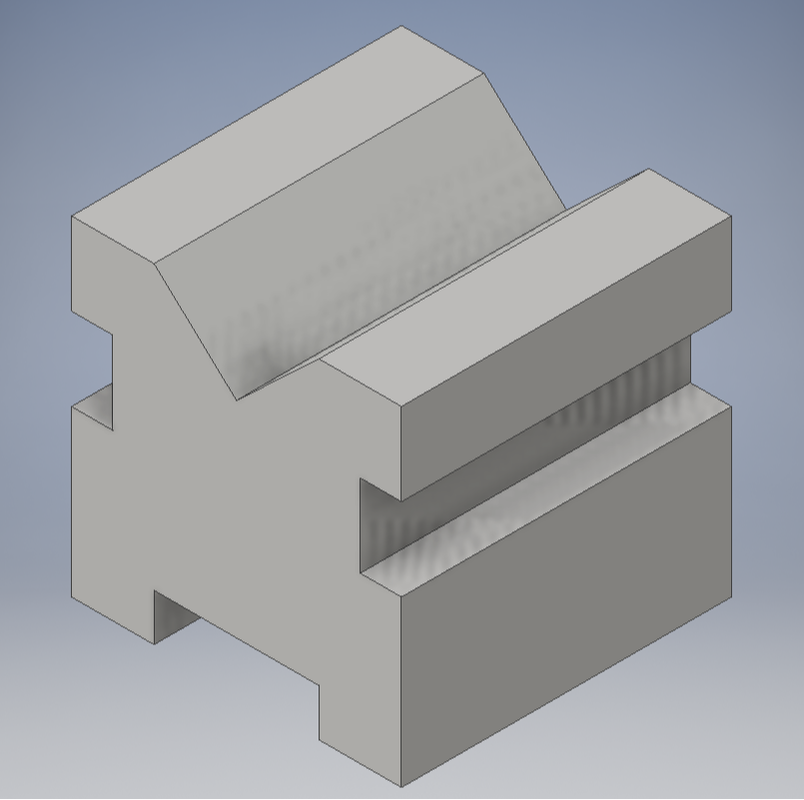
But I wasn't done yet. When I referred back to my hand-drawn sketch, I saw that there was a slant to the tallest column. To create this, I created a 2D sketch plane on the right side face of the object. It was a struggle to find the correct location for the sketch lines, and also to make sure the lines were properly conjoined. This was easily solved by dimension the lines and also conforming to the built in software constraints.
|
|
Step Six
|
Once I clicked Finish Sketch, I extruded it. However, it was a different type of extrude. Instead of making the sketch 3D, I took away from the already 3D object. The only semi-difficult thing was making sure the extruded sketch did not extrude too far and cut into the smaller column behind the larger one.
|
|
|
Step Seven
|
|
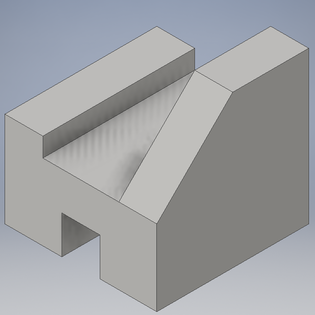
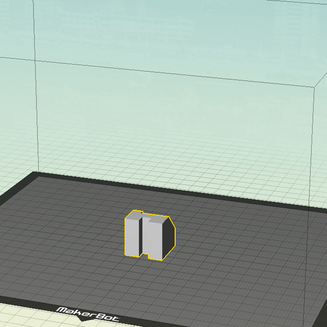
At this point in time, I had successfully modeled the widget in Inventor. The next step was to put it into the 3D printing software MakerBot Desktop. Exporting the file was a smooth process, however I got confused the scaling of the actual widget. For this, Ms. Proctor told me to not press a conversion button and to change the 100% scale to 1000%.
|
|
Step Eight
|
At the 3D printer I used the knob to select the correct widget file and to print. I ran into problems here because when I selected my file, it said it would take three hours to print when it was only suppose to take thirty minutes. I then went back to step seven to fix my scaling issue.
|

|
|
Step Nine
|
|
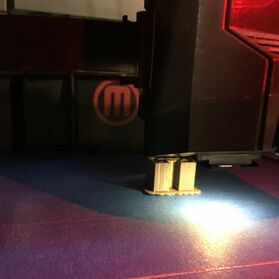
Once the scaling issue was resolved, I then proceeded to print, only to be interrupted yet again with a challenged - the widget was not printing. Eventually, with help from Ms. Proctor once again, it was figured to be problems with the filament. It was an easy fix once the problem was identified, and once fixed my widget finally printed!
|
The Final Product
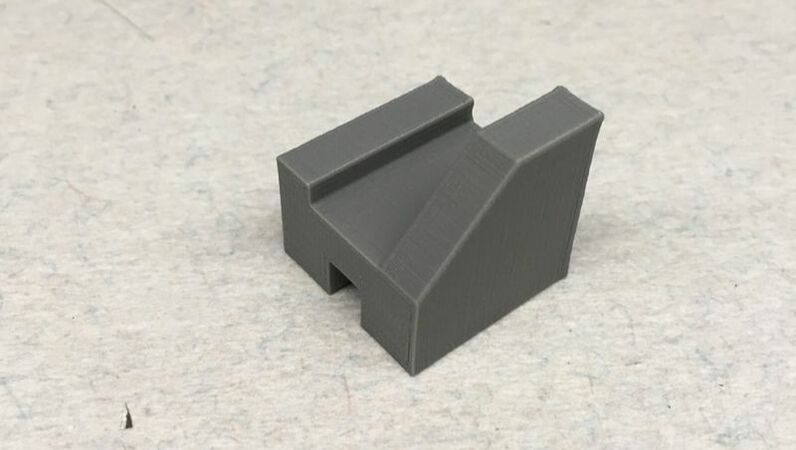
What I Learned
Although I did not learn a lot about Inventor due to my previous knowledge of it from the course I took in eighth grade (Gateway to Technology), I did learn a lot of 3D printing. This project was the only the second time I had ever used a 3D printer (the first being a closely monitored, step by step making of a cookie cuter when I was in fifth grade - it used a completely different, more kid-friendly software than MarkerBot ), and it was very fun. The new software was slightly tricky at first to navigate, but with the help of friends and Ms. Proctor (my instructor), I was able to accomplish my goal of 3D printing a widget! The next time I do this, I will know how to select the correct USB file, how to check the filament, and how to properly scale an object that is exported from Inventor to MakerBot. Overall, this project was a great learning experience and I cannot wait to continue and learn more!
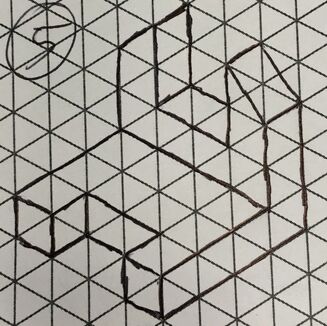
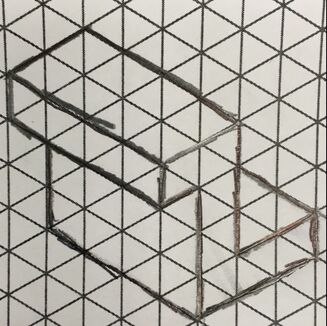
Other Sketches
|
|
|
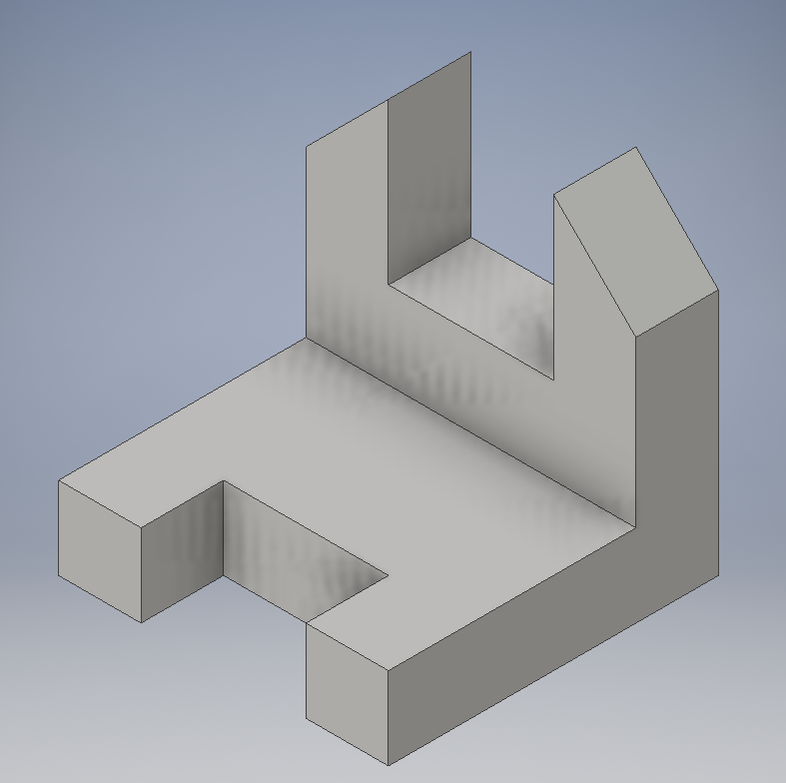
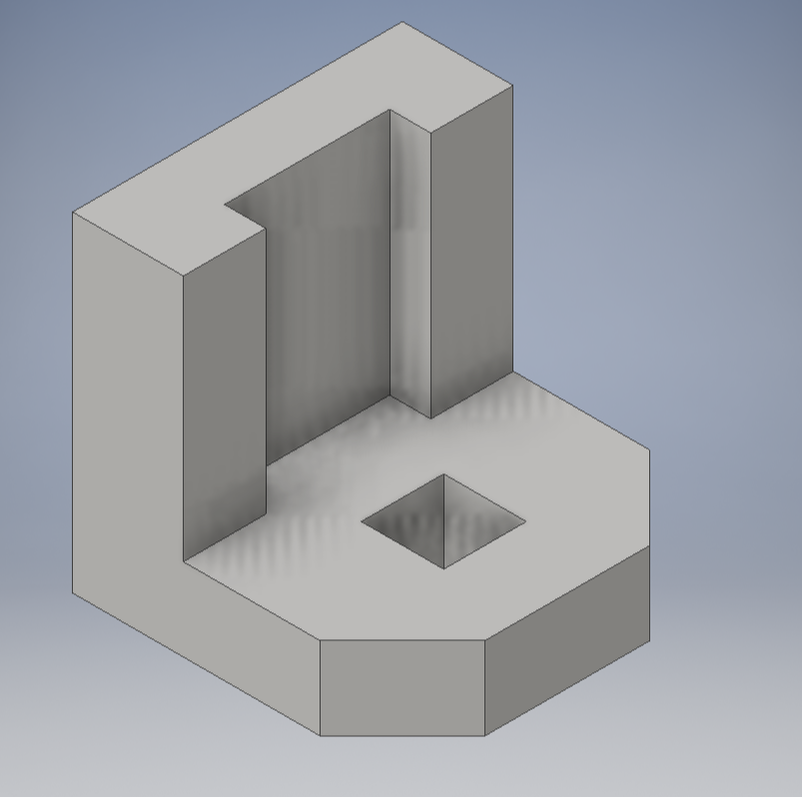
Other Widgets |
|

|
|
|
